


Open concept living spaces blend kitchen, dining, and living areas, demanding strategic cabinet install for both storage and visual appeal. Custom cabinetry defines zones while preserving an open feel, enhancing bathrooms and kitchens. Skilled installers create visual harmony, transforming spaces into inviting, cohesive areas that balance form and function.
Open concept living spaces are gaining popularity, offering a modern and functional design choice. This article explores how cabinets play a pivotal role in enhancing these versatile layouts, providing both storage solutions and aesthetic appeal. From understanding the unique dynamics of open concepts to a comprehensive step-by-step guide for cabinet installation, we’ll delve into the art of creating harmonious, efficient spaces. Discover how the right cabinet install can transform your home, maximising every inch while maintaining a seamless, inviting atmosphere.
- Understanding Open Concept Layouts and Their Benefits
- The Role of Cabinets in Open Concept Living Spaces
- Step-by-Step Guide to Cabinet Installation for Open Concepts
Understanding Open Concept Layouts and Their Benefits
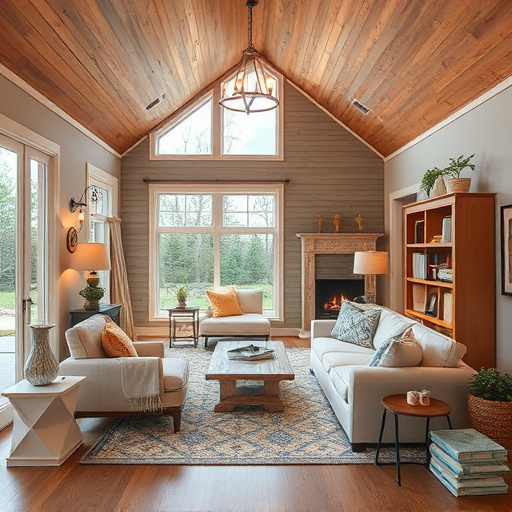
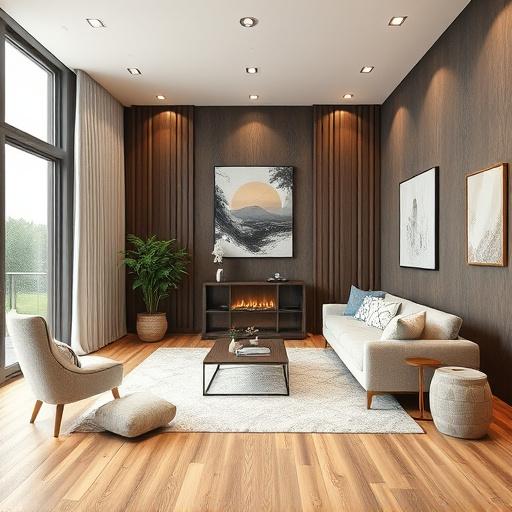
Open concept living spaces have gained immense popularity due to their ability to create a seamless flow between different areas of a home. This design philosophy involves removing traditional walls and barriers, merging rooms like the kitchen, dining area, and living room into one expansive, interconnected space. The result is a more spacious, modern aesthetic that facilitates social interaction and offers numerous functional advantages.
A cabinet install plays a pivotal role in enhancing open concept layouts. Custom-designed cabinetry can define and separate areas within the space while maintaining an unobstructed view. For instance, tall bookshelves or media cabinets can divide the living area from the kitchen, providing both privacy and visual interest. In bathroom renovations or kitchen remodels, strategically placed cabinets can create a focal point, define different zones, and maximize storage without compromising the open feel of the space. Home renovation projects that embrace this design trend often result in more livable, inviting, and aesthetically pleasing living environments.
The Role of Cabinets in Open Concept Living Spaces
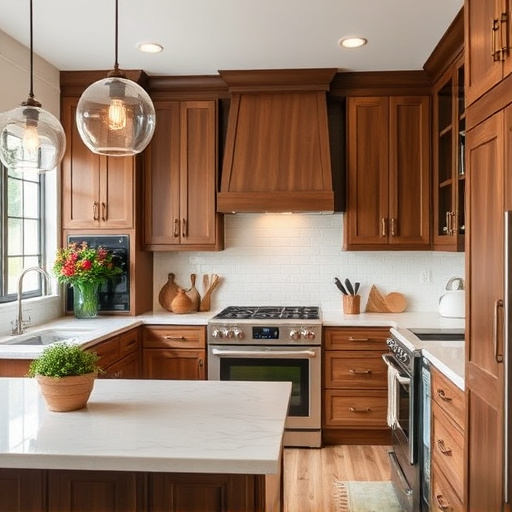
In open concept living spaces, cabinets play a pivotal role in defining functionality and aesthetics. A well-designed cabinet install strategically integrates storage solutions with the seamless flow of the space. Unlike traditional layouts, where rooms are separated by walls, open concepts demand versatile furniture that blends form and function. Cabinets serve as both practical elements and design anchors, providing a sense of organization and balance within the expansive layout.
A skilled cabinet install goes beyond mere placement, focusing on creating harmony between cabinets, flooring, and other interior features. In these spaces, floor replacements or exterior painting might be considered to enhance the overall look while cabinets act as the backbone, supporting both practical needs like food storage in kitchens and bath areas, and aesthetic goals by contributing to the unified visual experience of the open concept living space.
Step-by-Step Guide to Cabinet Installation for Open Concepts
Installing cabinets in an open concept living space requires careful planning and a systematic approach. Here’s a step-by-step guide to ensure a seamless process:
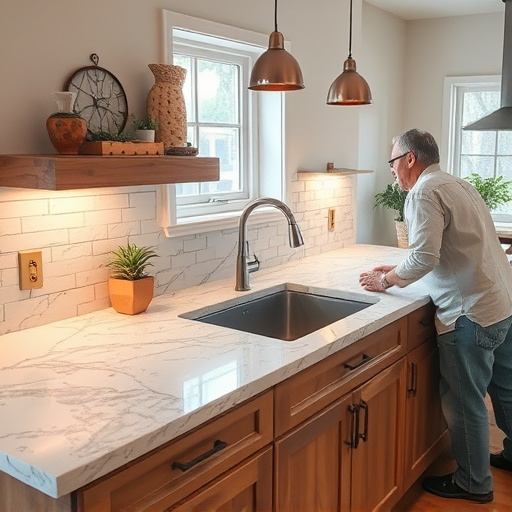
1. Measure and Plan: Start by assessing the layout of your open concept area. Measure the spaces where you intend to install cabinets, considering the height, depth, and width required for each section. Create detailed plans, including wall placements, corner cuts, and any specific design elements you wish to incorporate. This step is crucial for a customized home renovation, ensuring every cabinet fits perfectly.
2. Prepare the Space: Clear the area of any furniture or obstacles. Ensure the walls are clean, smooth, and free from imperfections to allow for precise measurements. Remove any existing cabinets or fixtures that might interfere with your installation. Protect nearby surfaces or floors with drop cloths to prevent damage during the process.
3. Install Cabinet Footings and Brackets: Begin by securing cabinet footings or brackets to the floor at the marked locations. These provide a sturdy base for your cabinets, especially in areas prone to moisture like kitchens. Ensure they are level using a bubble level.
4. Hang Cabinet Frames: Next, hang the cabinet frames securely on the walls. Use appropriate hardware and ensure they are level. This step often involves cutting and fitting wall plates or brackets to accommodate the cabinet’s design.
5. Assemble and Fit Cabinets: Carefully assemble the cabinets according to the manufacturer’s instructions. Once ready, position them within the installed frames and fix them in place. Pay close attention to door and drawer alignment, ensuring they open and close smoothly.
6. Finalize Touches: Fill any gaps or spaces between cabinets using appropriate sealing compounds. Install hardware like handles and pulls, adding the finishing touches to your new cabinet setup. Ensure all screws and fasteners are securely fastened for durable residential renovations.
Open concept living spaces are a popular design choice, offering a modern aesthetic and enhanced connectivity between rooms. Cabinets play a pivotal role in these layouts, providing storage solutions without compromising on the desired openness. By following a strategic cabinet install process, you can create a functional and stylish environment that caters to today’s lifestyle demands. This article has provided an overview of open concept design, explored the significance of cabinets in such spaces, and offered a step-by-step guide for successful cabinet installation. Now, it’s time to take the next step and bring your open concept living space to life with well-planned and installed cabinets.